


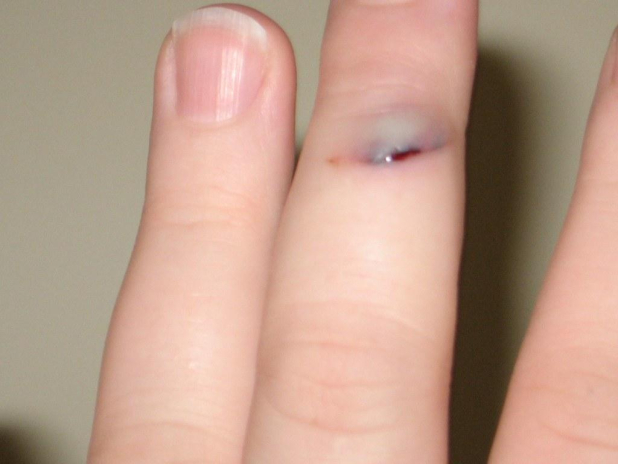
Learning how to do bruised face makeup can be a fun and creative way to add a realistic touch to your costume or special effects. Whether you’re working on a Halloween look or getting ready for a theatre production, mastering this technique can take your makeup skills to the next level. With a few simple steps and the right tools, you can create a bruised and battered appearance that will impress everyone around you. So, let’s dive in and learn how to create a realistic bruised face makeup look!
Table of Contents
- Preparation and Skincare for Bruised Face Makeup
- Color Matching and Application Techniques
- Blending and Layering for Realistic Bruising
- Finishing Touches and Setting the Makeup
- Q&A
- In Conclusion
Preparation and Skincare for Bruised Face Makeup
Preparing for bruised face makeup requires proper skincare to ensure a smooth and flawless application. Before applying any makeup, it’s essential to prep your skin to create a base that will help the makeup adhere better and last longer. Here are some key skincare steps to follow before applying bruised face makeup:
1. Cleanse: Start by cleansing your face to remove any dirt, oil, or makeup residue. Use a gentle cleanser that is suitable for your skin type to avoid irritation.
2. Moisturize: Apply a lightweight, non-greasy moisturizer to hydrate and prime the skin. This will help the makeup go on more smoothly and prevent it from settling into dry patches.
3. Prime: Use a makeup primer specifically designed to minimize the appearance of pores and smooth out any uneven texture on the skin. This will create a smooth canvas for the bruised face makeup application.
After prepping your skin, it’s important to select the right makeup products to achieve a realistic bruised effect. Look for cream-based makeup in shades of blue, purple, green, and yellow to mimic the various stages of a bruise. With the right skincare and makeup products, you’ll be able to create a convincing bruised face look that is perfect for Halloween, cosplay, or special effects makeup.
Color Matching and Application Techniques
When it comes to creating a realistic bruised face makeup look, are essential. To achieve a convincing bruised effect, it’s important to use the right colors and apply them in a way that mimics the natural appearance of bruises. This guide will walk you through the process of color matching and applying makeup to create a realistic bruised face.
Choosing the Right Colors
The key to achieving a realistic bruised look is to use a combination of colors that mimic the natural appearance of bruises. When selecting colors for your bruised face makeup, look for shades of purple, blue, green, and yellow. These colors will help to create the appearance of bruising and add depth and dimension to your makeup look.
Application Techniques
Once you’ve chosen the right colors for your bruised face makeup, it’s time to apply them in a way that mimics the appearance of real bruises. Here are some application techniques to help you achieve a realistic bruised effect:
- Layering: Start by applying a base layer of purple or blue eyeshadow to the areas where you want to create the appearance of bruising. Then, layer on additional colors such as green and yellow to add depth and dimension to the bruised effect.
- Blending: Use a blending brush to blend the different colors together, creating a seamless transition between shades for a more realistic appearance.
- Adding Detail: To add realism to your bruised face makeup, consider adding a touch of red or brown eyeshadow to create the appearance of broken blood vessels or older bruises.
Blending and Layering for Realistic Bruising
When it comes to creating a realistic bruised effect for makeup, blending and layering are essential techniques to master. By using a combination of different colors and textures, you can achieve a lifelike bruising effect that will elevate your special effects makeup game to the next level.
Start by selecting a variety of shades that mimic the colors of a real bruise, such as deep purples, splotches of blue, and hints of green and yellow. Using a small, dense brush, apply the darkest shade first, focusing on the areas where bruising would naturally occur, such as around the eyes, cheeks, and jawline. Then, gradually layer on lighter shades, blending as you go to create a seamless transition between colors. This layering technique will add depth and dimension to your bruise, making it appear more realistic.
Another key aspect of achieving a believable bruised effect is texture. Using a combination of cream and powder products will add depth and realism to your bruise, creating the appearance of varying levels of bruising and healing. Layering a cream product under a powder will allow you to build up the intensity of the bruise in certain areas, while also creating a more natural-looking finish.
Finishing Touches and Setting the Makeup
Once you have created the bruised effect on your face, it’s time to add the finishing touches and set the makeup to ensure it lasts the whole day or night. Follow these steps and tips to perfect your bruised face makeup look:
- Blend the Colors: Use a makeup sponge or brush to blend the different colors on your face, ensuring a seamless transition between the bruise shades.
- Add Texture: For a more realistic look, lightly dab a small amount of petroleum jelly or lip balm over the bruised areas to create a subtle sheen and texture.
- Set with Setting Spray: Once you are satisfied with the bruised effect, carefully mist your face with a setting spray to lock the makeup in place and prevent smudging or fading.
Additionally, remember to consider the overall theme or costume you are pairing with the bruised face makeup and adjust your finishing touches accordingly. Whether it’s a spooky Halloween costume or a dramatic theatrical performance, the right finishing touches and setting techniques will elevate your bruised face makeup to the next level.
Q&A
Q: What is bruised face makeup?
A: Bruised face makeup is a technique used to create the appearance of realistic bruises on the skin for special effects or costume purposes.
Q: What materials do I need for bruised face makeup?
A: You will need various shades of blue, red, purple, and green cream makeup, a makeup sponge or brush, and fake blood or stage blood.
Q: How do I apply bruised face makeup?
A: Start by applying a base of blue or purple cream makeup to the desired bruise area. Then, layer on red and green to create depth and dimension. Use a makeup sponge or brush to blend the colors together for a realistic look.
Q: Can I use household items to create bruised face makeup?
A: You can use makeup you already have, such as eyeshadows and lipsticks, to create bruised effects. However, using specialized cream makeup will give you the most realistic results.
Q: What are some tips for creating realistic looking bruises?
A: Focus on blending the colors to create a natural gradient, and consider adding a small amount of fake blood to the center of the bruise for added realism.
Q: Is bruised face makeup safe for the skin?
A: As long as you are using cosmetic cream makeup and not actual bruising techniques, bruised face makeup is safe for the skin. Be sure to remove the makeup gently and completely at the end of the day to avoid irritation.
Q: Can I use bruised face makeup for Halloween or costume parties?
A: Absolutely! Bruised face makeup is a popular choice for Halloween costumes and special effects makeup for costume parties or theater productions. It’s a fun and creative way to enhance your costume.
In Conclusion
In conclusion, achieving a realistic bruised face makeup look is easier than you think. With the right tools and techniques, you can create a convincing and impactful bruised effect that will elevate your Halloween costume or special effects makeup. Remember to blend well and add different shades for depth and dimension. Have fun experimenting and don’t be afraid to get creative with your bruised face makeup!


